The Beginner Guide to AeroPress
The AeroPress may look like a quirky piece of lab gear, but it brews coffee with an elegance and control that punches far above its size. Lightweight, durable, and delightfully fast, it’s a favorite among travelers, baristas, and weekday warriors alike. A unique mix of pour over and french press, the AeroPress has risen to stardom based on it's magnificantly compact size and ease of consistently reproducible coffee.
One of the most remarkable things about the AeroPress is its origin story. Invented in 2005 by Alan Adler—a Stanford University engineering instructor and the mind behind the Aerobie flying disc—the AeroPress was born from a desire to make a single, smooth cup of coffee without the bitterness common in traditional drip brewers. Adler’s design used air pressure to push hot water through coffee grounds, blending immersion and pressure in a way that produced a bold yet clean flavor profile. Its compact size and intuitive design made it instantly appealing, but what truly propelled its success was the community it inspired. From home brewers to baristas, coffee lovers began sharing recipes and brewing techniques, leading to the launch of the World AeroPress Championship—an annual celebration of creativity, flavor, and precision.
Unlike immersion methods like the French press or slow-extraction pour-overs, the AeroPress blends immersion with pressure. The result? A cup that’s rich but clean, bold but low in bitterness, often somewhere between a strong drip and a smooth espresso. And it only takes about two minutes from start to finish.
One of the best parts of AeroPress brewing is its flexibility. There’s no single “right” way to use it. Some prefer the standard method for its efficiency; others flip it upside down with the inverted method to extend steep time. You can fine-tune grind size, water temp, and brew time to highlight brightness, body, or sweetness, depending on the coffee.
And because of its compact design, the AeroPress is easy to clean and ideal for brewing a single cup without much fuss. It’s a perfect intro to manual brewing, but also offers endless room for experimentation—hence the thousands of recipes, competitions, and brewing hacks shared online. Many companies who produce portable hand grinders specifically create units that can fit within the AeroPress for maximum portability of a full stack coffee brewing system.
Equipment Needed for AeroPress Brewing:
AeroPress Brewer- including plunger, chamber, cap, scoop, stirrer (there are multiple variants, but they all work the same)
Paper Filters - metal reusable filter also work
Burr Grinder - preferably something compact
Kettle - temperature control optional but helpful, and even microwaved water or water heated on a JetBoil will work
Scale - probably not part of your uber-portable kit, but extremely helpful nonetheless
Timer - to keep track of brewing time
Here's my method and process:
Grind the coffee – Use a medium-fine grind, like table salt. For a single cup, use 14–17g of coffee (about 1 AeroPress scoop).
Insert the filter – Place a paper filter in the AeroPress cap and rinse it with hot water to remove any paper taste.
Assemble and add coffee – Attach the cap to the brew chamber, set it over your mug, and add the coffee grounds.
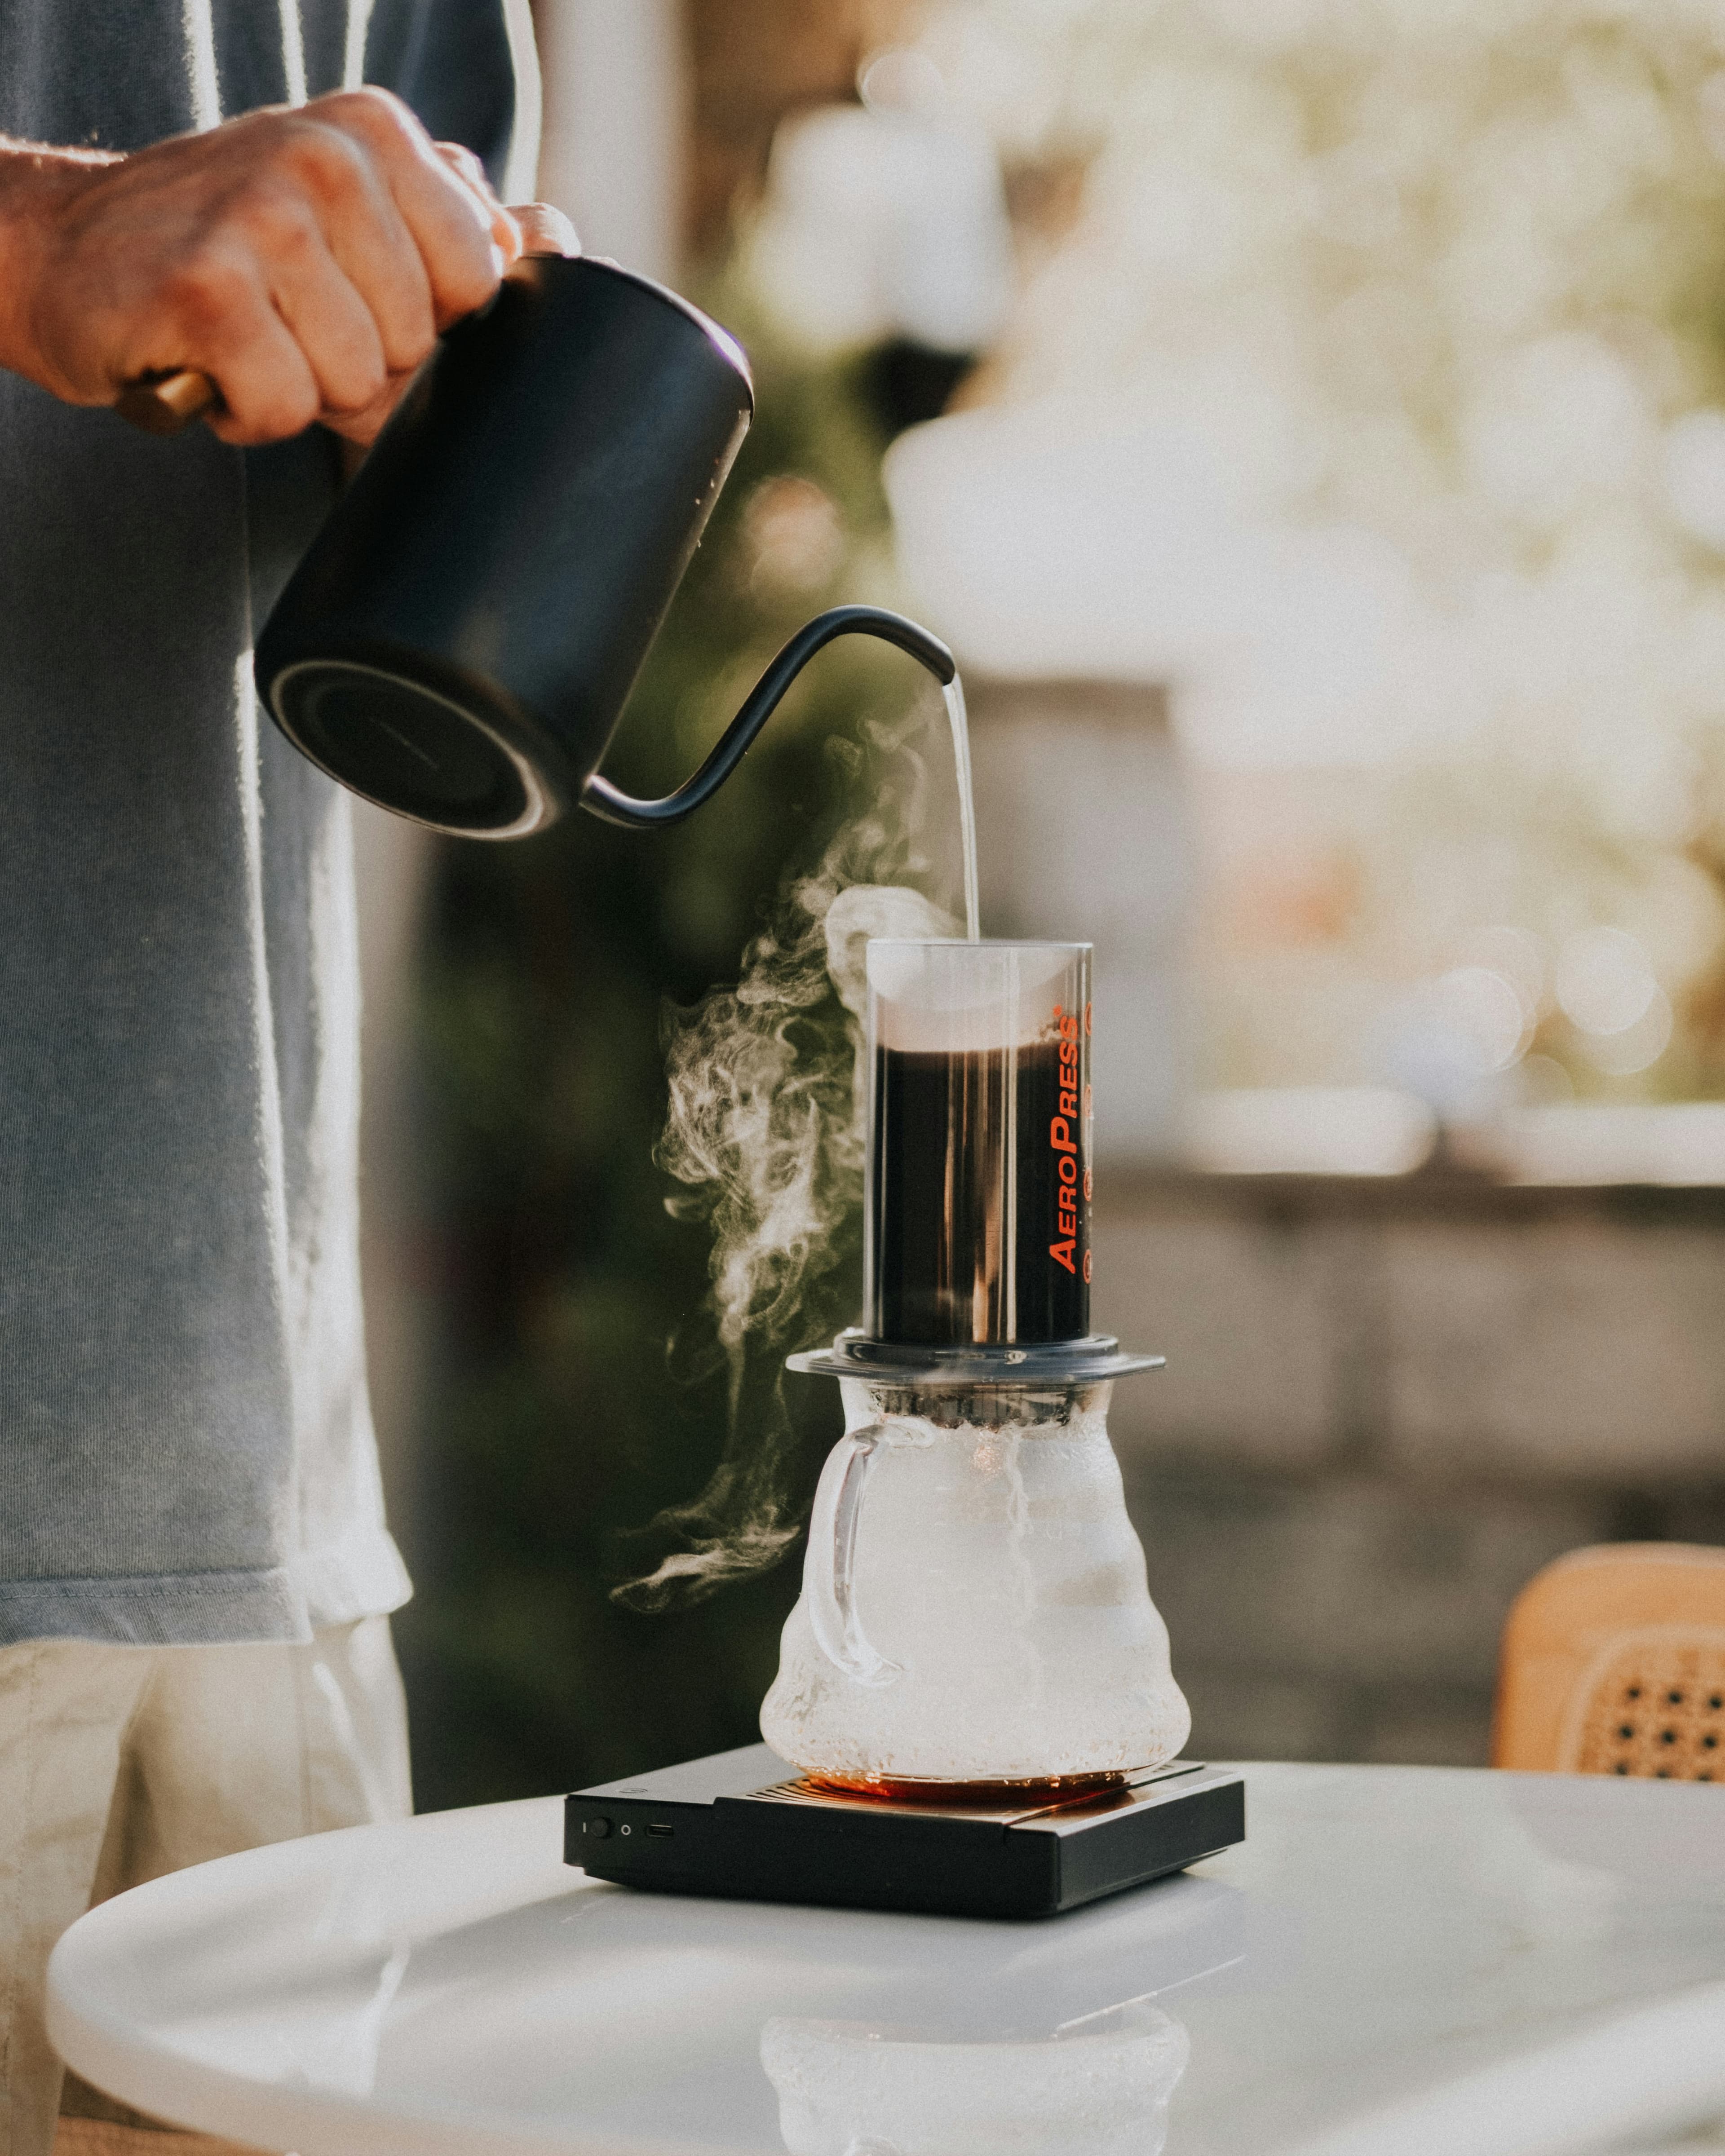
Add water – Start a timer and pour 200–220g of hot water (about 175–185°F) over the grounds, saturating evenly.
Stir and steep – Stir gently for about 10 seconds to agitate. Insert the plunger just enough to create a seal, and let it steep for 60–90 seconds.
Press slowly – Push down steadily for 20–30 seconds until you hear a hiss. The pressure extracts concentrated flavor and filters out grit.
Serve – Drink it straight for a bold cup, or dilute with hot water for an Americano-style brew.
AeroPress brewing is all about control and speed. Whether you’re fine-tuning flavor at home or pulling a cup at a trailhead, it offers an unbeatable mix of convenience and quality—proof that great coffee doesn’t need to be complicated.